


You Will Need:
- Wrapping paper tubes
- Scissors / Craft Knife
- Pencil
- Spaghetti (or something else, for decoration)
- Paint (I used it for spaghetti, see the steps for more information)
- Hot Glue
- White Glue (I used it for spaghetti)

1. You will need some tubes from wrapping paper or some other rolls, mine were about 3 cm in diameter. (Dunno what's wrong with the pic, don't blame me :D )

2. Then measure the length of each piece of tube (you'll need 4 pieces) and make marks around the circumference of the tube.
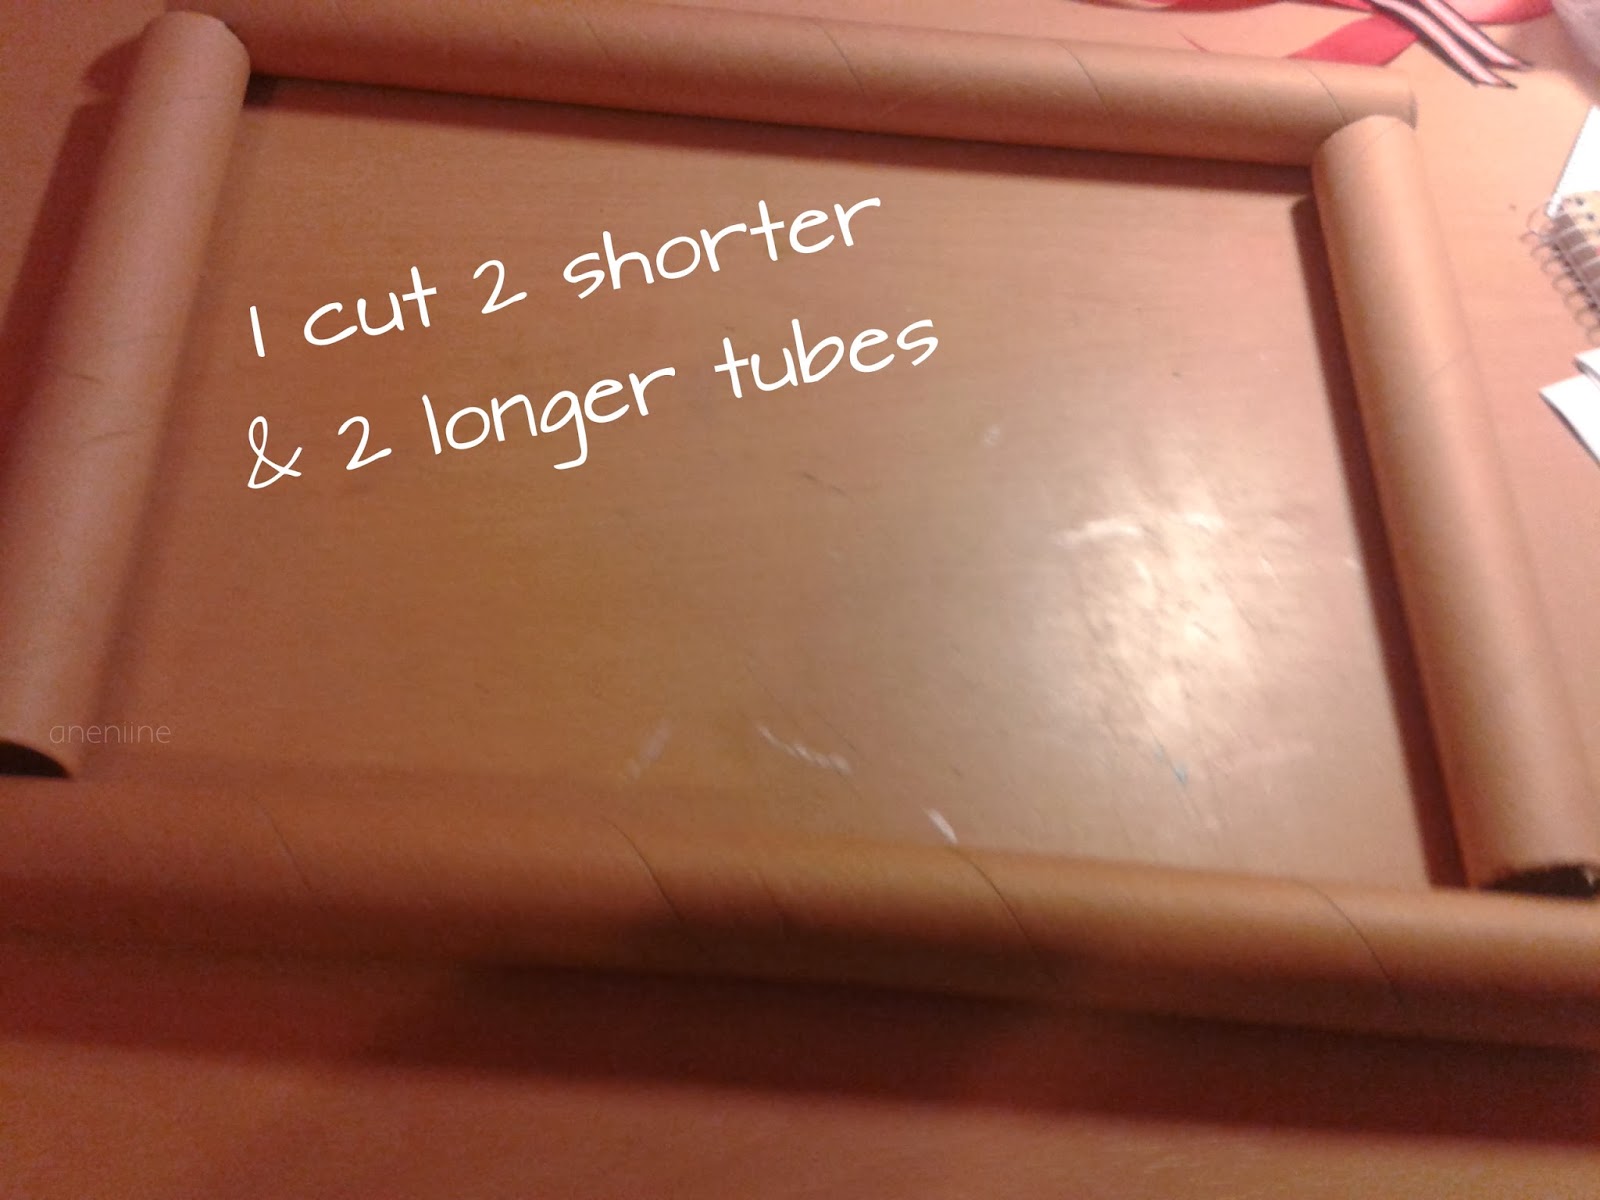
3. I cut 2 longer and 2 shorter tubes, I'm not sure how long they were, but the finished frame was about the size of an A4 page. But cut those a bit longer than you want your actual frame to be.
You can also cut all of the pieces the same length to form a square.

4. In the next few steps I'll show you how to make marks for the corners, I'm showing this on some scrap pieces, because I was experimenting myself!
Basically, you want to connect all of the tubes and make nice corners for the frame.

5. Measure the diameter of a tube and mark this length on the ends of each tube.

6. Connect the marks.

7. Mark the middle for one side, then do the same on the opposite side, for all tubes. Make sure that both ends of a tube has marks at the same places (bit hard to explain, but you'll see later why)

8. Connect the bottom point (see picture) to the top point (see picture) on the other side. Then continue from the top back to the bottom point (back at the starting point).

9. Then cut along those lines you just made, for all of the tubes. (I wasn't trying to cut perfectly, because I was experimenting)

10. As you can see, you can connect the pieces now. If you're going to make this frame the same as mine, then don't worry about those gaps between the pieces.

11. What I meant with that 'mark the middle right' thing is that both pointy ends of each tube must be at the same places.
(Gosh, I'm so terrible at explaining stuff! If I had to read this as a viewer, I probably wouldn't understand, but hopefully you can look at the pictures and figure it out)

12. Glue all pieces together with hot glue to form a frame.
(This probably was the easiest step to explain :D )

At first, I wanted to wrap the frame with tissue paper, but it looked terrible, so I ripped it off.

13. Then I came up with a better idea - I covered the frame with spaghetti all around!
I used white glue for this and I had to break spaghetti in to smaller pieces at some places, I'm sorry that there are no pics from the process, I wasn't sure if I would really post a tutorial and how good it would turn out, but I think it turned out pretty good. :)

14. My dad advised me to sand paper it a bit, so I did. Some spaghetti pieces weren't really fitting in, so I had to do it.

15. Then I painted it with 2-3 coats of white paint. I used some furniture paint we had, it has a nice gloss when it's dried.

Wait for the paint to dry between the coats. Watch some MTV, have a cup of tea or just do something around the house. :) Just don't get Drunk.

Yes, you can also dance while listening to "Can We Dance". :D
Ahh, the possibilities are endless. :D

Back to the tutorial! This is a close-up of the mix of spaghettis and paint. Reminds me of some columns or something like that!

16. Get your hot glue gun ready!

17. Get yer tulle fabric out! Get one with holes big enough, so you can hang earrings in there.
Cut a piece of fabric the size of your frame. :)

18. But before that, my mum also advised me something, she told me that I could make the corners more pretty. I found some vintage lace which was kind of a scalloped one. So, I just took 4 scallops and arranged those like so.

19. I glued them on with hot glue, I only placed a few dots of glue (for the inner corner, outer corner and maybe two on each side of a scallop).

20. Then I glued the tulle fabric on the back of the frame with hot glue. I started with one corner, then continued with other corners.
(Be careful with hot glue while doing this!)

21. Then finally, I glued down the edges.

22. Stretching tulle down a bit might help you with glueing and making the whole thing tight.
Then cut off the excess tulle fabric, if you need to!

This was my old earring hanger, I thought that it was time for it to go (and some earrings I never wore, too).

And this is my new, finished frame! It's lovely in person, and would look nice in every room. :)


No comments:
Post a Comment